Modify Size and Position
Use the options on the Adjust Sizes tool menu to resize the objects you have selected. Care should be taken. All selected objects will be resized in the specified dimensions.
The Same Width, Same Height, and Same Width and Height options are relative to the width and height of the controlling template.
Setting the controlling template
When selecting multiple templates (objects) for group operations (alignment, font, etc.) by default the first selected object is designated as the controlling object and is shown with a red border. All other objects are shown with a blue border.
When an Align or Resize action is selected, the blue objects are matched to the red object:
You can quickly change the controlling template without having to reselect all the objects. Simply click on another object (not the check box) in the template list. If the object you have selected is part of the selected group, it will be set as the controlling template and its border colour will be changed to red.
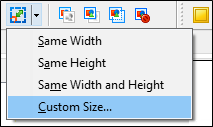
Custom Size and Position
To set a Custom size (and Position), select the Custom Size option:
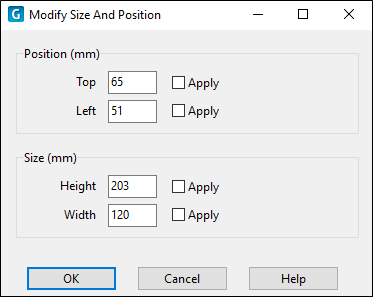
The template position is specified relative to the top left corner of the drawing area. The left co-ordinate (X) gives the offset from the left edge of the drawing area to the left edge of the template. The top co-ordinate (Y) gives the offset in millimetres from the top of the drawing area to the top of the template. These measurements do not include the page margins. Furthermore, scale bars have annotation margins which are also not included in the measurements. The co-ordinates of a scale bar refer to the top left corner of the bar itself.
Use the Width and Height properties of the object to adjust the size of the template object in the report. Keep the aspect ratio the same in order to prevent distortion of the image.
Apply
Select the Apply check boxes to apply one or more of the position and size values you have entered.