Exporting Data
To export data, we follow the steps of VALIDATE → APPROVE → EXPORT → PURGE.
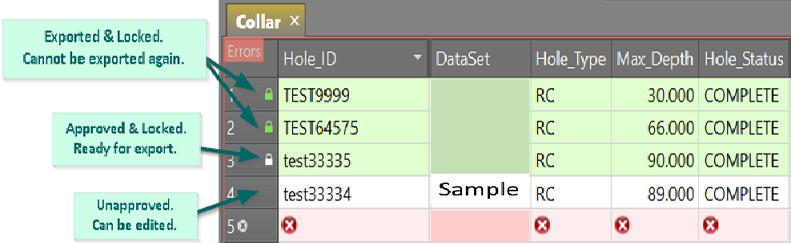
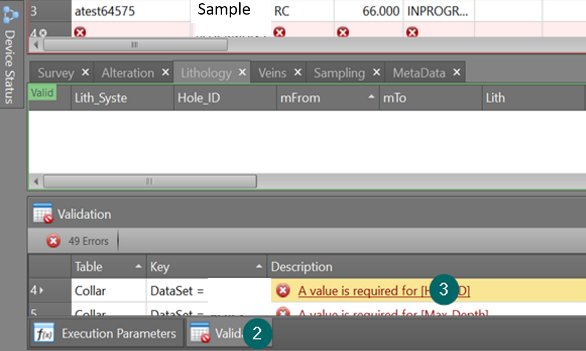
Note that you cannot approve, nor can you export, invalid data.
- To check for invalid data, click on the Validation tab to open the Validation pane.
- When you click on an error in the Validation pane, the cursor moves to the relevant table record and field allowing you to resolve the issue there and then:
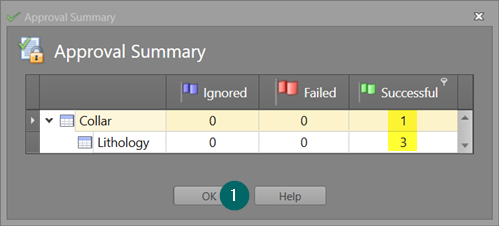
- Select the record(s) that you want to mark for approval. Click Approve Selected Rows:
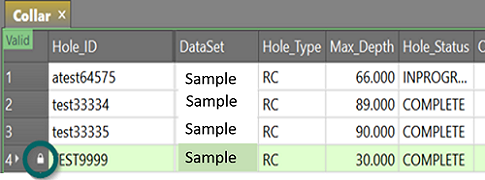
- Records that are approved and ready for export are highlighted green and flagged with a white padlock.
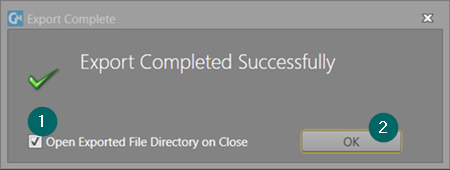
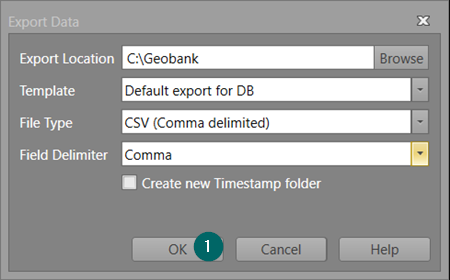
- Now you can export your data by clicking Export:
- Click OK once you have entered your Export options:
- Records that have been exported are now flagged with a green padlock. Note that these records are locked and cannot be edited or re-exported:
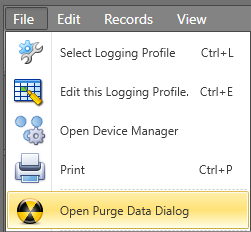
- Data that is no longer needed may be Purged by selecting File | Open Purge Data Dialog.
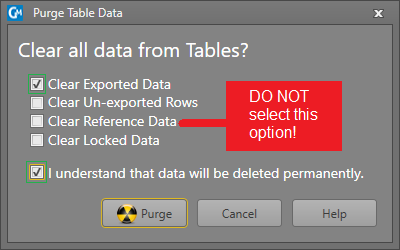
- Select the types of data that you want to purge. We do not recommend that you tick the Clear Reference Data option – if you select this option, your libraries may be deleted, and lookups will stop working.
![]()
A summary will pop-up to tell you whether the approval succeeded:
![]()
Note that only records that have been approved and have not been exported previously, will be included in this export. Holes that have been exported previously, will not be included.
Then click OK again.