Orientation Axis Settings
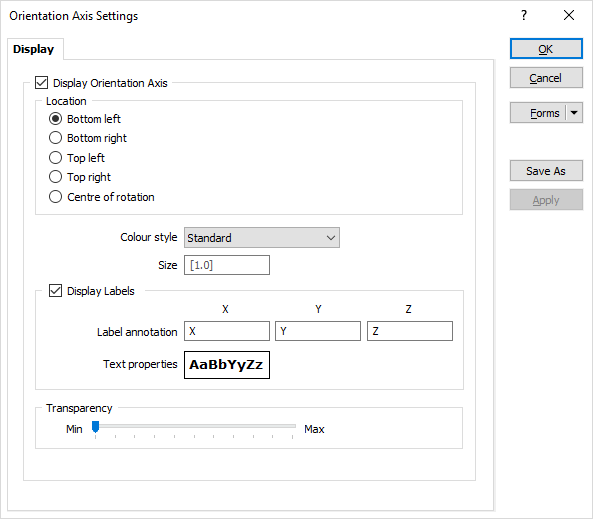
Select View | Coordinate Grids | Orientation Axis Settings and click the ![]() Display Orientation Axis check box to display an orientation axis and set its location and appearance.
Display Orientation Axis check box to display an orientation axis and set its location and appearance.

The orientation axis tool provides a visual indication of where in space the camera currently is. This helps to prevent becoming "lost" as you manipulate the display.
Note: To toggle the display of the orientation axis on and off, select View | Coordinate Grids | Orientation Axis.
Location
You can choose in which Location to display the orientation axis (relative to the bottom, top, or centre of the Vizex window).
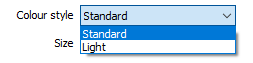
Colour style
Choose between a Standard or a Light colour style for the orientation axes. When a dark background is being used, you may prefer to display a lighter shade of the standard colours.
Standard or Light axis colours may also be selected as part of a Vizex colour theme in View | Change Vizex Theme | Theme Settings. See: Theme Settings
Size
Set the relative Size of the tool (defaults to "1", which is roughly 1/20th of the Vizex window height).
Display Labels
Select this check box option to show a label on each (X, Y, Z) orientation axis. The label text direction will be perpendicular to the axis direction.
Note: Note that a label will not be shown if the axis it is attached to faces almost completely towards or away from the camera (in an Orthogonal view). You can however deduce what the third axis is from the other two.
Text Properties
Double-click on the Text Properties Preview box to select a font and set text properties for the labels.
Note: A fixed font size of 8 points corresponds to the diameter of the cone on the axis. As the window (and the axis) are resized, the font is scaled accordingly.
Transparency
Use the slider to adjust the Transparency of the orientation axis.