Export
The data that has been logged and approved can be exported to a Text file or a Micromine Data file.
If you want to export data from specific tables, or from specific columns in those tables, or export unapproved or non-validated records for preview purposes, you will need to setup one or more Export Templates prior to running this function.
To export the data that has been logged in a profile:
- Click the Export button on the toolbar ribbon
 or press CTRL+S.
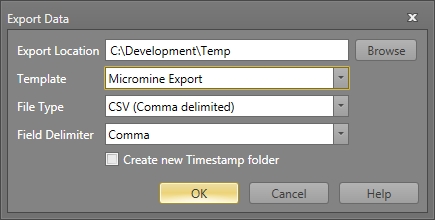
 - Click the Browse button to navigate to the folder that will be the Export folder.
- Select an Export Template from the drop-down list.
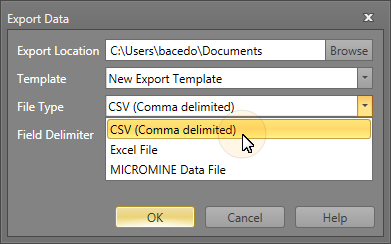
- Select the file type for the export, either CSV, Excel, or Micromine Data File format. If the file is to be exported as CSV, an additional field is displayed allowing you to select a Field Delimiter from a drop-down list. Choose from Comma, Tab, Semicolon or Colon.
- Click OK.
If you have not previously defined an export template, you can select New Export Template from the drop-down list. All data tables and columns are exported by default.
When you select the Create timestamp folder check box, the exported data will be written to a date/time stamped subdirectory of the specified Export folder.
The exported file(s) are written to the selected folder. There will be one file per table named either <table_name>.csv, <table_name>.xls, or <table_name>.dat.
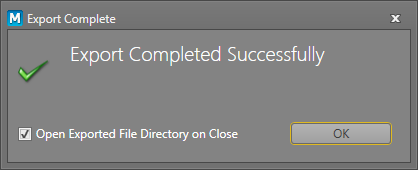
A confirmation message is displayed and you can select an option to open the Export folder to view the exported files.